Title here
Summary here
This guide walks you through the process of signing up to Haddock using your email address and setting up your domain for the platform.
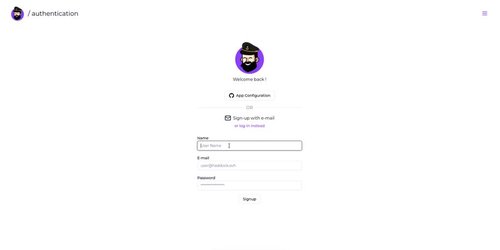
When accessing Haddock for the first time, you’ll be greeted with the welcome screen and login page:
Once registered, you’ll be redirected to the domain setup page. This step ensures Haddock can verify and route traffic correctly to your instance.
Enter the main domain you want to use for your Haddock platform. For example:
haddock.softwareThis will be the main entry point for all services on your platform.
To make your platform accessible via the web, you’ll need to link your custom domain to your Haddock instance. This is done by adding records to your DNS provider (like OVH, Cloudflare, Gandi, etc.).
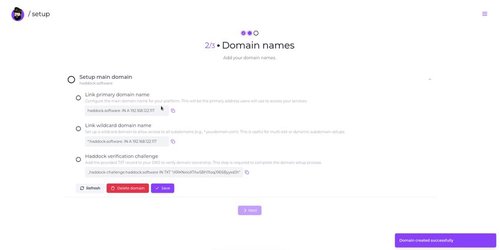
Three DNS steps are required:
Add an A record to point your domain to your server’s public IP address:
haddock.software. IN A 192.168.122.117This allows users to access your platform at
haddock.software.
Add a wildcard A record to route all subdomains to your server:
\*.haddock.software. IN A 192.168.122.117This ensures subdomains like
project1.haddock.softwareordashboard.haddock.softwarewill automatically work without extra configuration.
To prove you own the domain, Haddock gives you a TXT record to add. It looks like this:
This is a verification token. Haddock will check this before allowing the domain setup to proceed.
\_haddock-challenge.haddock.software. IN TXT "iXrKNxloXTllw5Bh1IoqJ9E6ByyxdJh"You can copy these directly from the interface.
You’re now redirected to the dashboard, and your account is fully created and logged in.